Showing posts with label models. Show all posts

Wednesday, 3 September 2014

Bride and Groom Cake

This is another of my display cakes for the wedding fairs which is pink with a modelled bride and groom. I wanted to create cakes with different styles to showcase different ideas and to tempt the couples. 
To create this cake I covered 2 dummies with sugar paste, a 8" and 10", and then stuck them together with royal icing. I used 2 iced drums for these cakes, the first with a solid pink colour and then I marbled the larger board. The boards were trimmed with cream ribbon but I wanted something different for the cake. I used a little pearl mould to create a beaded trim around the cake, these were then stuck on with edible glue. 

I piped the bottom layer of the cake with a random swirl design. This is the first time I've done this so it isn't perfect but I have a diploma booked in to improve this very skill. 
Piping on the bottom tier and beading around the joins
The next challenge was to create the bride and groom. I learnt how to make a seated ballerina on the Sugar Paste dipoma, however, this was taking it to another level. I started off with sticking on the back of the dress as I was wanted it appear like she had a long train. On top of this I formed legs and then I placed the top layer of the dress on top of this. Finally I stuck on her body and head. I then made the groom in a similar way. It was easier because I only needed legs at the bottom not layers of dress. The black needed some cmc added to it so that it held its shape but white is good modelling paste already. Make sure you use modelling paste to create these at it'll hold it's shape once moulded and will dry solid. I left the figures to dry overnight and make sure they were really solid. 
Models driving overnight
The next day I added hair to the figures using a craft gum and stuck this on. I tried to shape the hair so it looked realistic and I even gave the bride a hair cut!! 
Finished cake
I'm quite pleased with how this cake turned out and especially pleased with the expression on the faces.
The happy couple
I think this cake is really sweet and hopefully it'll spark someone's imagination.
Close up of the groom
Close up of the bride.

Saturday, 2 November 2013

Modelling a Hedgehog

This is another model that I learnt how to create on my sugarcraft course was a hedgehog sitting on a pile of leaves. I've created this in a step by step process to show you how to do it. First thing is you need two shades of brown sugarpaste. You'll need more of the darker colour. 
Brown sugarpaste.
Using the lighter brown colour roll it into a ball using the palms of your hands. 
Ball in light brown.
Then pressing into the palm of your hand shape it into a cone and then flatten the back of the cone to form a flat edge. 
Cone
Push up the tip of the cone to shape the nose upwards. 
Cone with a up turned nose. 
Using the darker brown shape it into a ball around double the size of the head.
Dark brown ball
Shape into a oblong. 
Shaped to an oblong.
Using a ball tool press in the head edge and form a indentation that the head can fit into. You want the edges of the body to stick out around the head. 
Indented to fit in the head
 Using edible glue stick the head in the body. 
Stuck together
With a small pair of scisors make cuts all over the body starting from the bottom of the hedgehog and working your way up. These are better if they're random rather than in lines if possible. 
Spikes cut with scissors.
Using a ball tool press indentations for both the eyes and the nose. Roll out a ball in black icing and using the glue stick these into the holes. 
Eyes and nose added
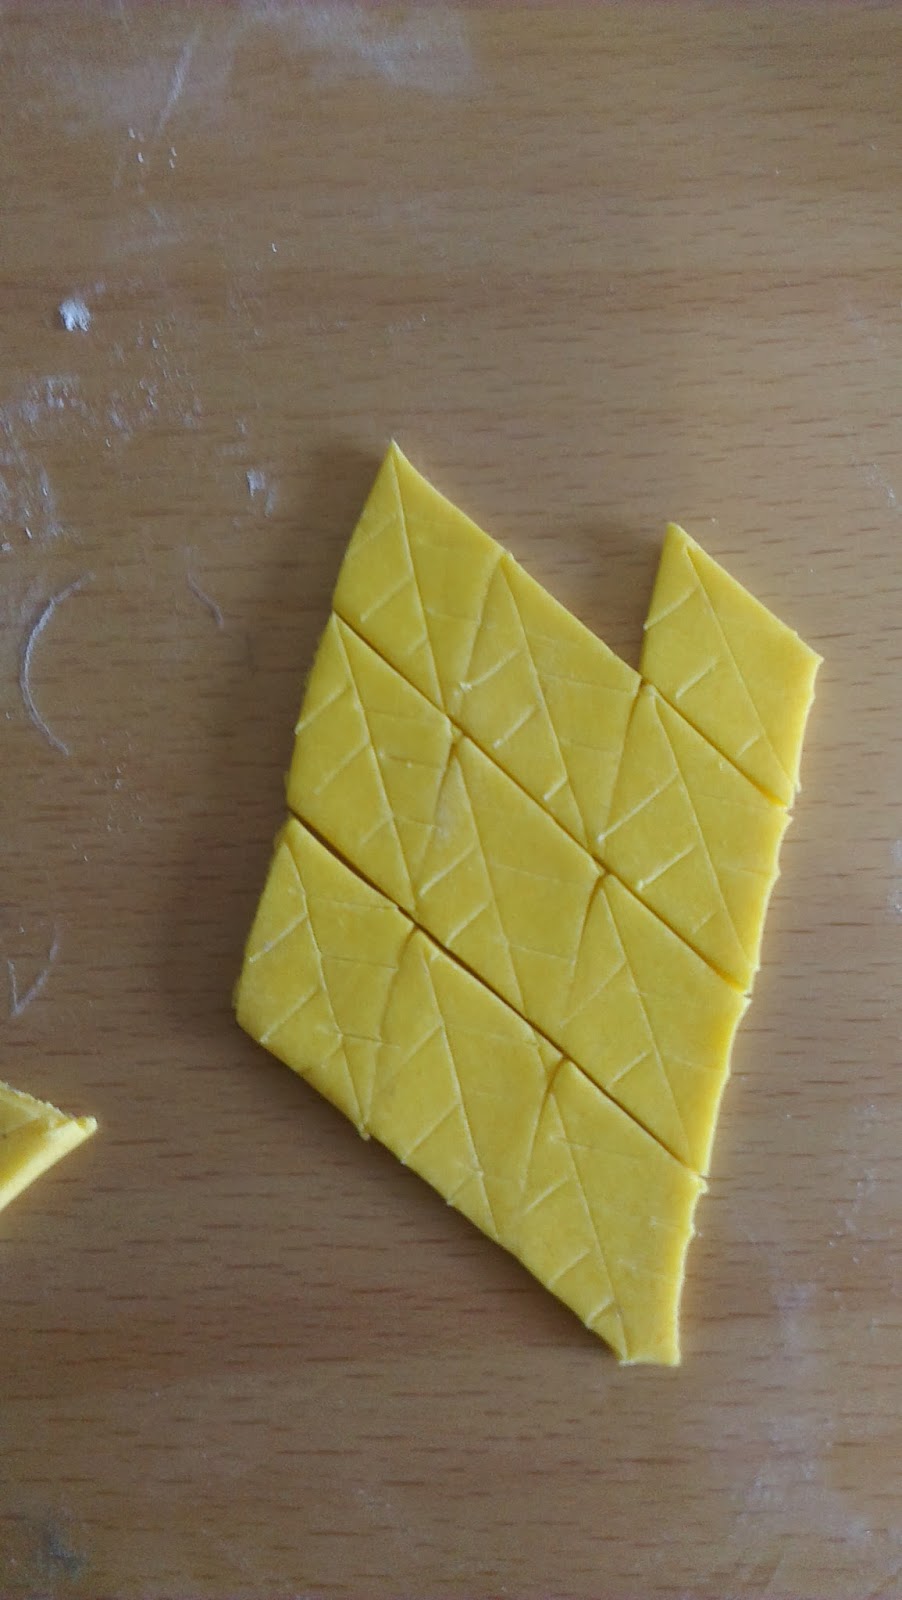
For the leaves roll out some leaf colours, for this example I just used yellow but it's better to use a variety of colours. You can make new shades of colours by mixing small amounts of icing and kneading them together. It also adds to the effect to do different sizes of leaves. In the rolled out icing cut out thin strips. 
Strips for leaves
Cut across these with diagonal lines to form diamonds. 
Diamonds.
In the diamonds, using a sharp knife, mark out the leaf lines, there should be one line down the middle and then some lines out from these. Mark all the leaves in the same way. 
Leaf lines
Using glue stick these onto a plaque, don't stick them down flat but stick them folded over and in lots of angles, this makes a much more realistic leaf pile. Finally place the hedgehog on top. 
Finished hedgehogs, left has better leaves but a bit squash from travelling!!